Astronomy Magazine – Your source for the latest news on astronomy, observing events, space missions, and more.
Top Stories
Picture of the Day
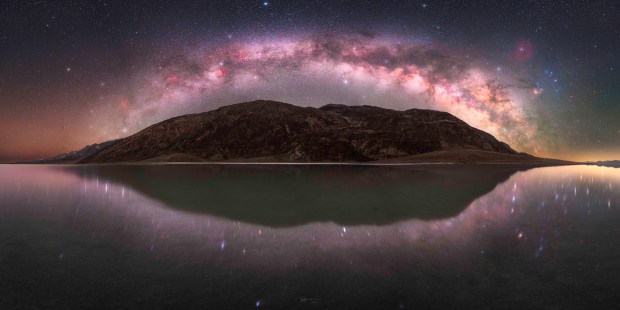
Salt lake pretty
Abhijit Patil, taken from Death Valley National Park, California
The Milky Way is reflected in the flooded salt flats of Death Valley’s Badwater Basin in this 21-panel panorama with an astro-modified Nikon Z 6ii and zoom lens at 20mm. Sky panels were exposures of 180 seconds taken at f/3.2 and ISO 800; foreground and reflection frames were 120-second exposures at f/2.8 and ISO 1600.

Latest News
Product Recommendations
-
New arrivals
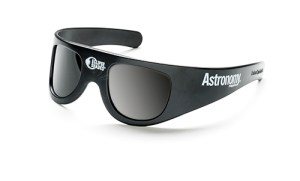
Wrap Around Solar Eclipse Glasses
-
Books & DVDs
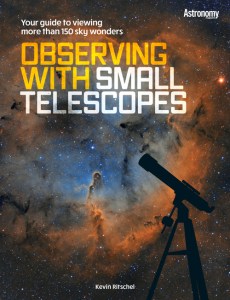
Observing with Small Telescopes
-
Globes & Maps
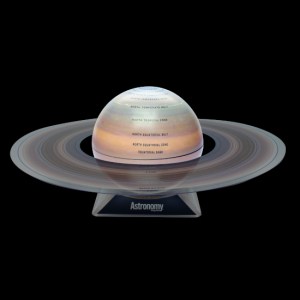
6" Saturn Globe
-
Gifts & Toys
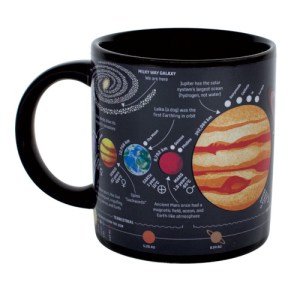
The Planet Mug
-
STEM Toys
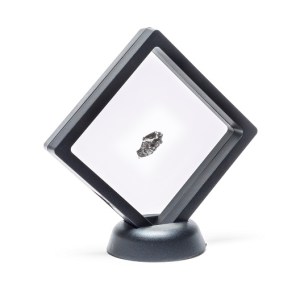
Campo del Cielo Meteorite
-
STEM Toys
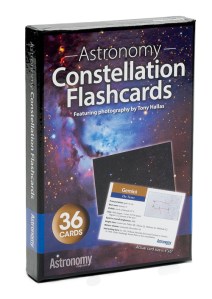
Constellation Flashcards
-

Gifts & Toys
2024 Eclipse Tour Shirt
-
STEM Toys
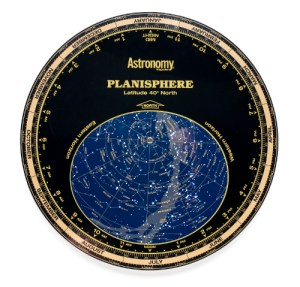
Astronomy 40° North Planisphere
-
Gifts & Toys
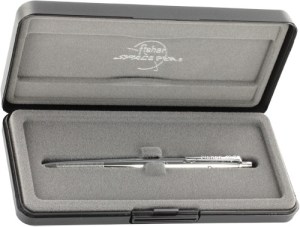
Fisher Original Astronaut Space Pen